A 4 GB 2.4GHz aluminum MacBook was used for this installation. OpenSUSE was installed in a virtual machine created under VMware Fusion 3. 768 MB of RAM was allotted automatically by VMware Fusion. When the image of the DVD of OpenSUSE was used, VMware correctly identified it as the 64-bit OpenSUSE distribution.

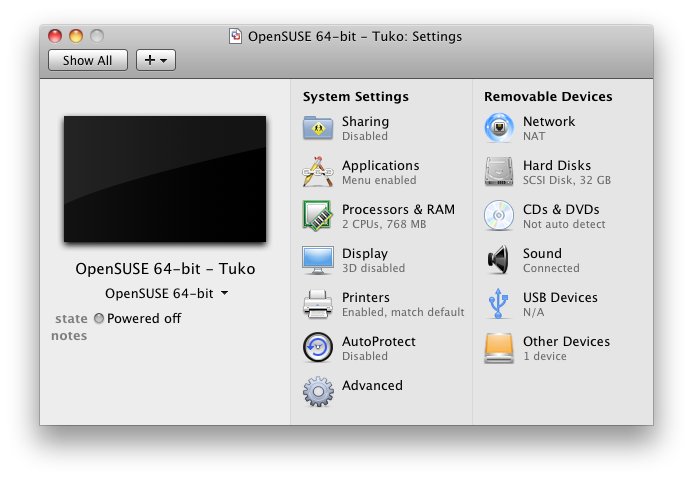
Virtual machine settings used for the test of OpenSUSE 11.2.
Two CPU cores were manually specified in the configuration since the MacBook is a dual-core machine anyway. A measly 32 GB of disk space was allotted for the installation. As for networking, it was decided that doing NAT behind the host was sufficient for this test. Note that NAT was the default network mode used by VMware.
The install took about 30 to 45 minutes after selecting a number of packages beyond the default desktop packages. In particular, a number of development tools like GCC and OpenJDK were installed. Also, a couple more window managers were installed, including Metacity, IceWM, and TWM. The GNOME Desktop Environment was also included.
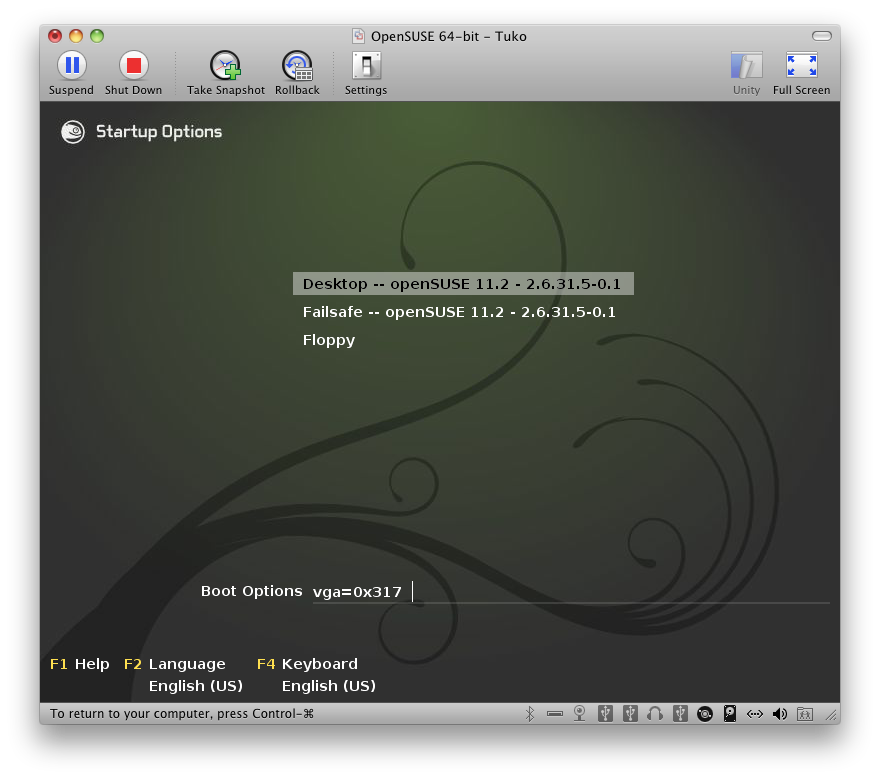
Below is a screenshot of the initial boot-up screen:

OpenSUSE defaults to run level 5 for a desktop configuration. On VMware, the screen size is set to 800×600 pixels initially. Changing this involves editing the Xorg.conf in the /etc/X11 directory. Note that an xorg.conf file does not exist here yet. One must be created.

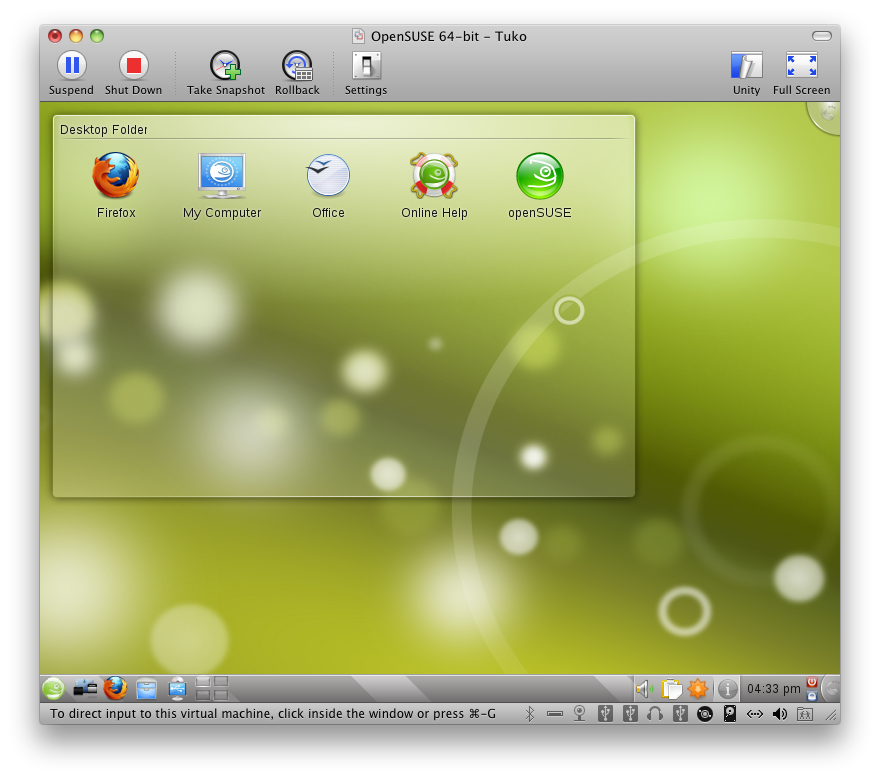
The initial desktop presented to the user.
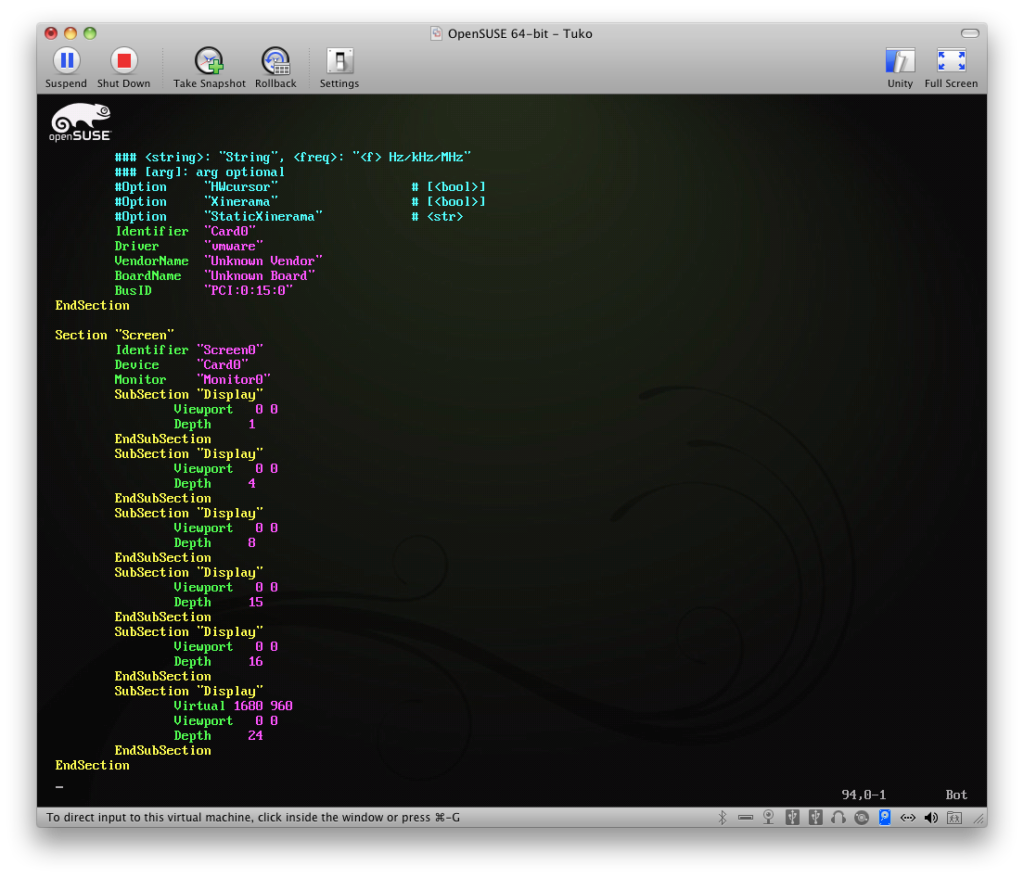
To create a new xorg.conf file, switch to run level 3, which shuts down X. Then run the command ‘Xorg -configure’ as root. This creates a new xorg.conf.* file in root’s directory. Rename this xorg.conf and copy it to /etc/X11. Assuming it works, when you type ‘startx’ as a normal user, a desktop session gets started. When satisfied that it works, edit xorg.conf and add the line “Virtual xxx yyy” to adjust the resolution of the desktop and desktop manager (i.e. the login screen). See the sample below:
After doing the above modifications to the xorg.conf file, the desktop looked like this on VMware Fusion, in 1680×960 pixel resolution:

Here are some sample screenshots of the window managers and desktop environments installed in this virtual machine:
And of course, X Window System’s venerable TWM:
That’s it for now. We’ll be adding more information about this test install in the next couple of days.


