For those of us who have Macs, it is really useful to be able to run virtual machines loaded with other operating systems. VMware Fusion 3 is one product that enables us to run another OS within Mac OS X. One can even run Mac OS X (Snow Leopard or Leopard) Server in a virtual machine.
This article simply shows the sequence of steps taken to install CentOS 5.4, a Linux distribution based on an enterprise-grade OS (with the non-free parts not included) that has a good share of the Linux enterprise market. We also show the settings used in VMware Fusion 3.
The Mac that is used here is a unibody aluminum MacBook (October 2008) with a 2.4 GHz Intel Core 2 Duo processor and 4 GB of DDR3 RAM. It’s a speedy machine even if it has been superseded by the 13″ MacBook Pro.
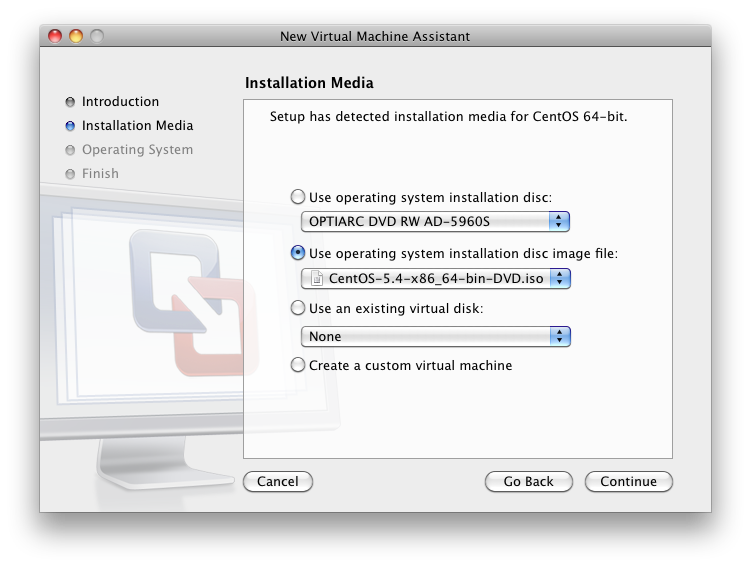
We first specify the OS disc image for VMware to install from:
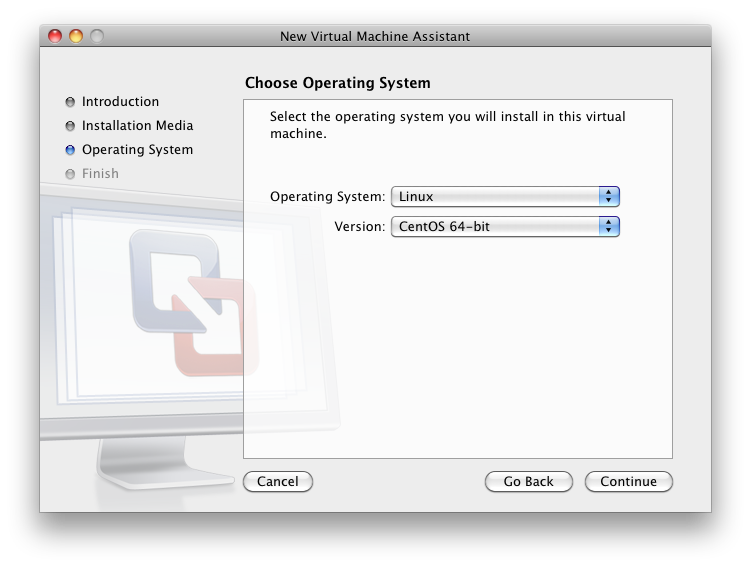
VMware Fusion detects the OS correctly:
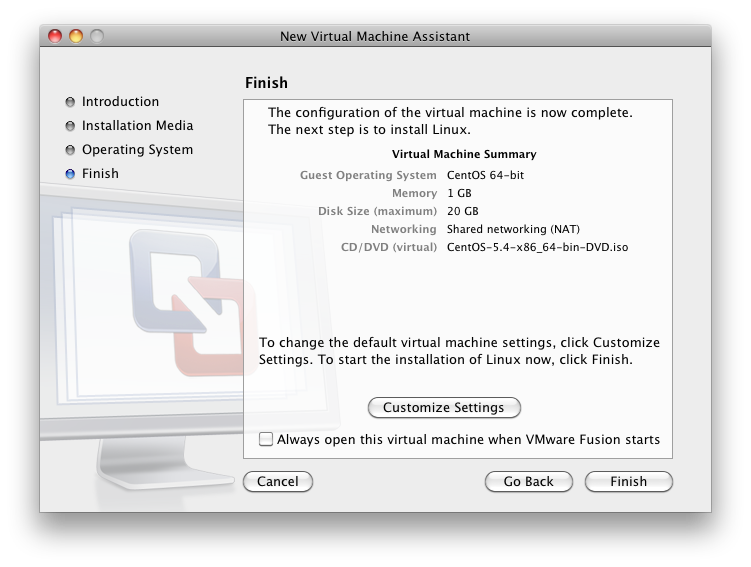
Initially, VMware Fusion automatically configures the virtual machine settings for you. Later on we change these settings:
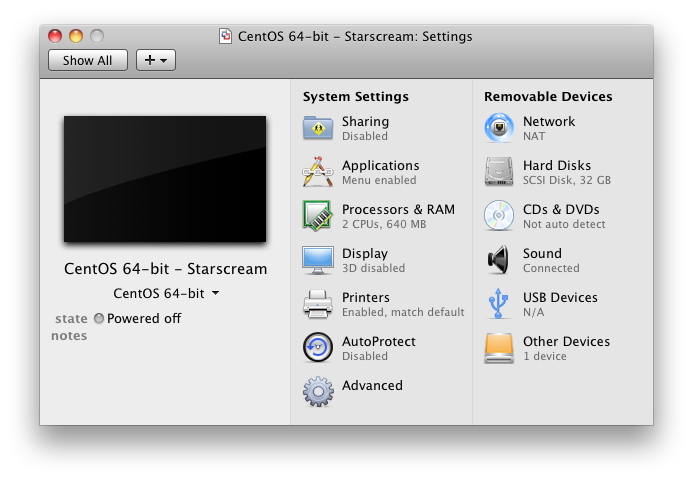
Changing the settings, we then have:
With the new settings, we can take advantage of the two cores of the CPU. Note that, unlike the previous version of VMware Fusion, VMware Fusion 3 now shows multiple cores not as individual processors but as individual cores. This is more obvious with OSes such as Microsoft Windows XP Home Edition which supports multi-core processors but not multiple sockets (you’ll need XP Professional for that).
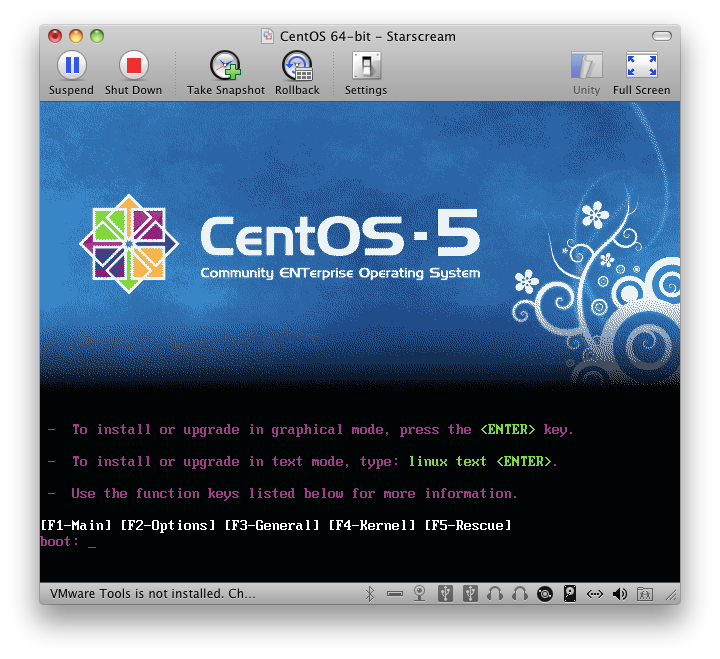
With the VM configured, we start it and see the splash screen:
We press the <ENTER> key and proceed:
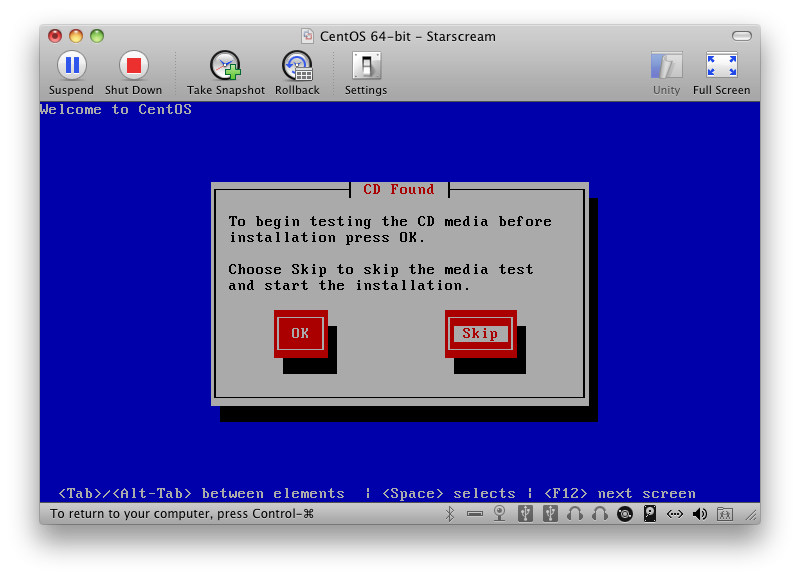
For the purpose of this article, we skip the test (we previously verified its signature anyway) but it is good to go through the disc for installation on production machines just to be sure.
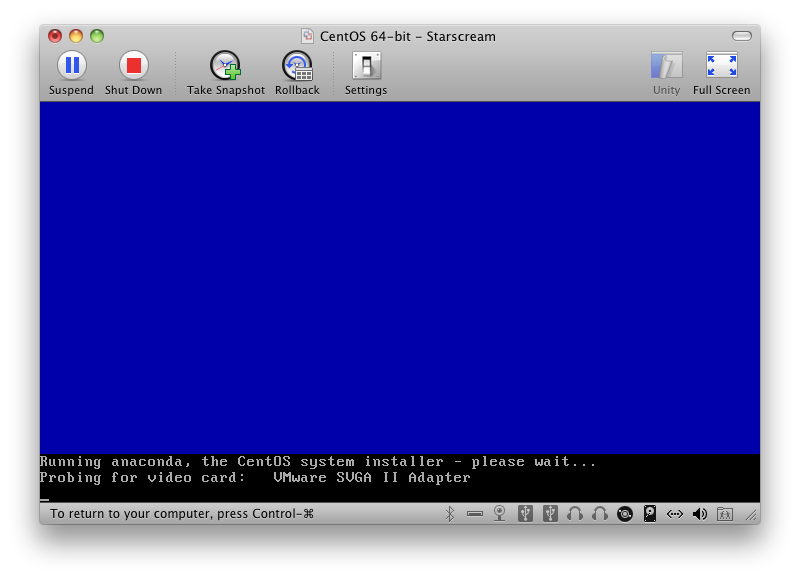
Below, we see that the next step is the initialization of the Anaconda installer and X. The installer detects a “vmware video card” and loads that for X.
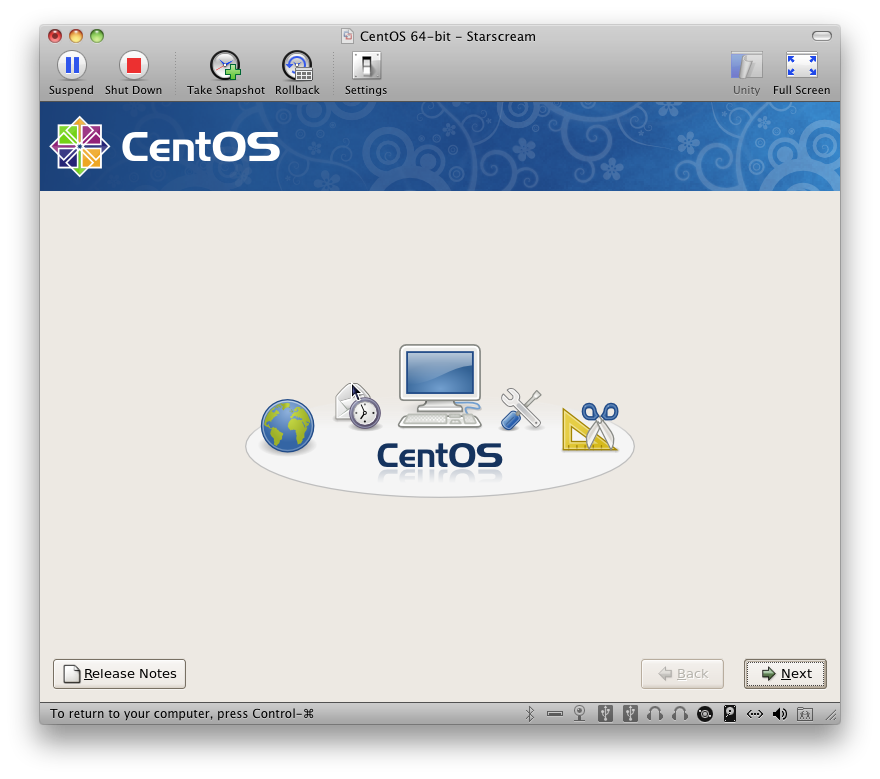
In a few seconds, X starts up and we see the graphical installer:
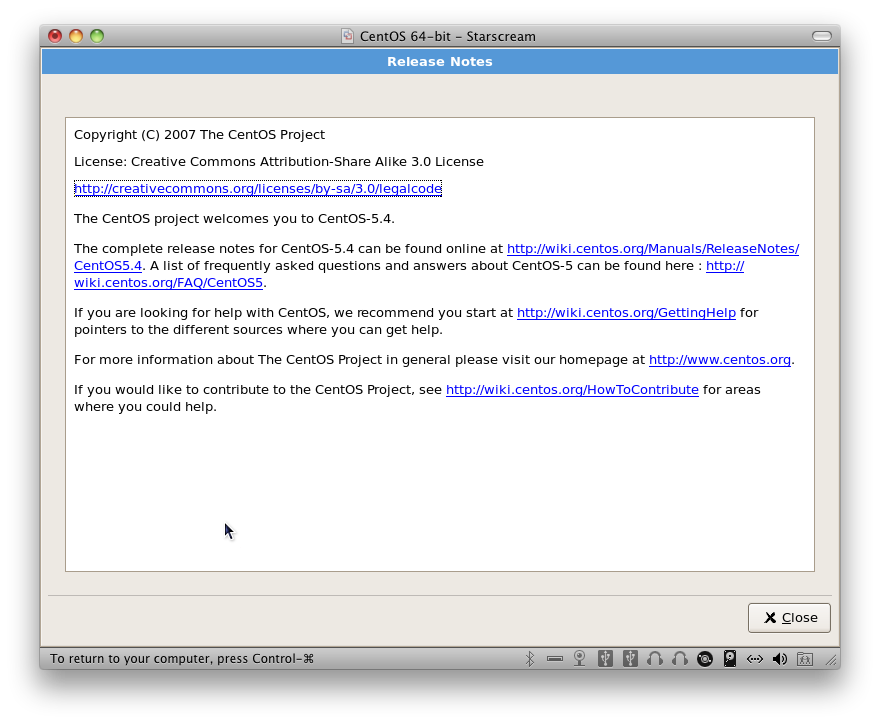
We click on “Release Notes” to read what’s new or significant with this release of CentOS.
All we get though is a short version of the release notes with links to various informational documents. For now, we do not click on any of them and just continue with the installation.
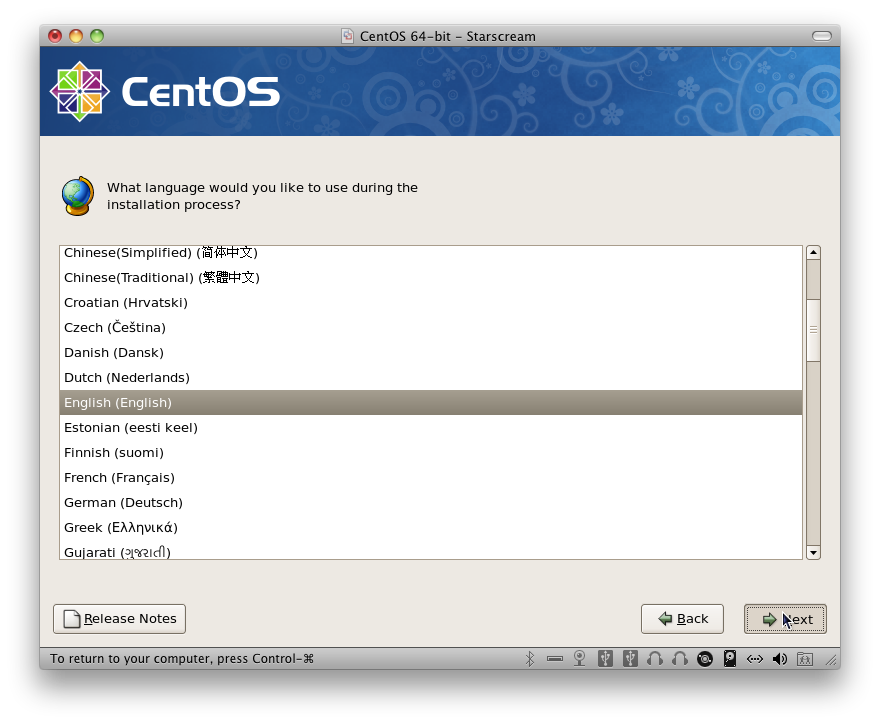
For the purpose of this article, we choose English as the language for installation.
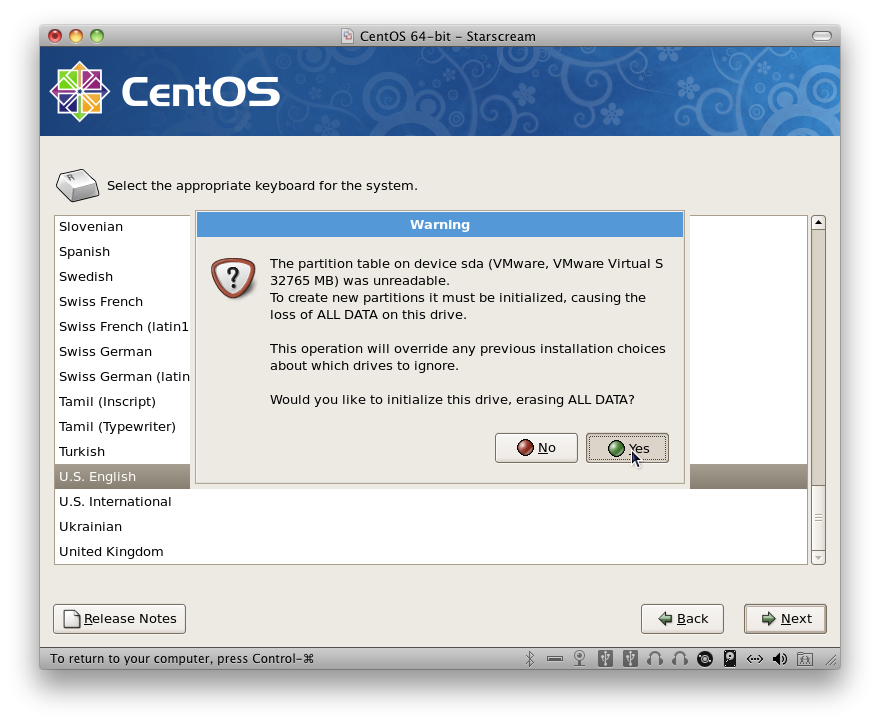
We are using a U.S. English keyboard so that is selected. Then, the installer detects that the partition table is not readable, prompting us to initialize it. We select ‘Yes’.
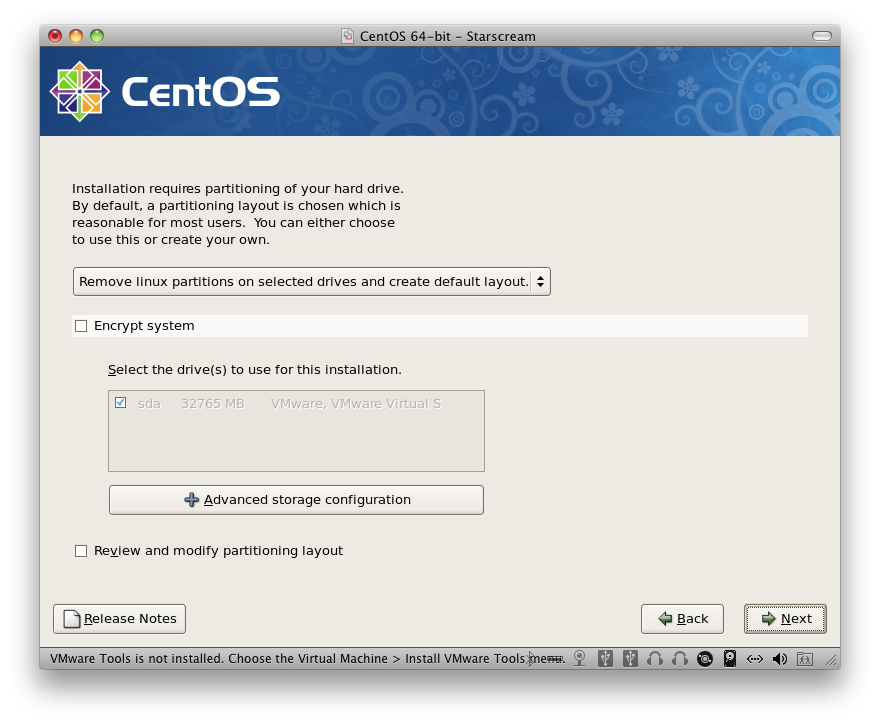
We simply use the default partitioning that the installer chooses and proceed to the next screen.
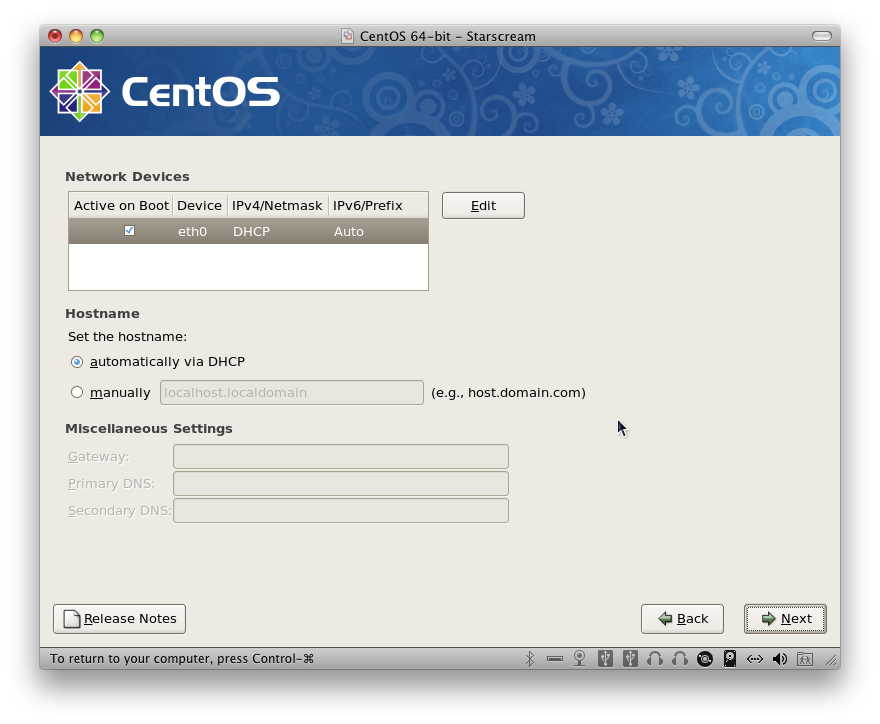
For the network configuration, we use DHCP. When our VM was configured, we chose NAT networking meaning that the OS is “behind” the host OS. The guest OS (CentOS 5.4 in this case) gets its IP address from VMware and uses that to connect to the local network and the Internet.
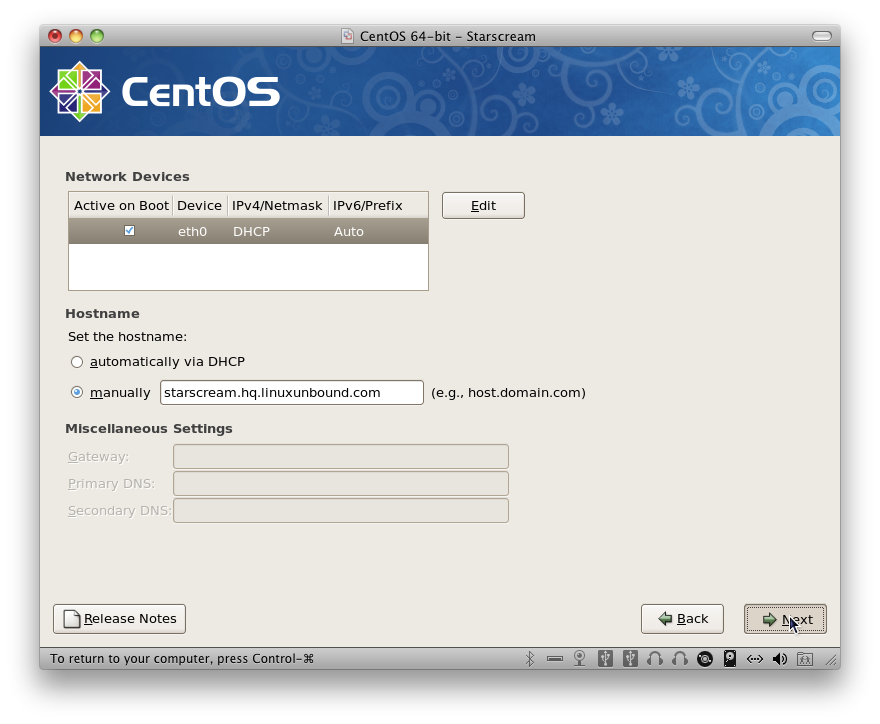
The hostname was chosen manually instead of relying on DHCP to assign it. This is only for this case. Your DHCP server might be configured to set the hostname as well — just ask the network/systems administrator about it.
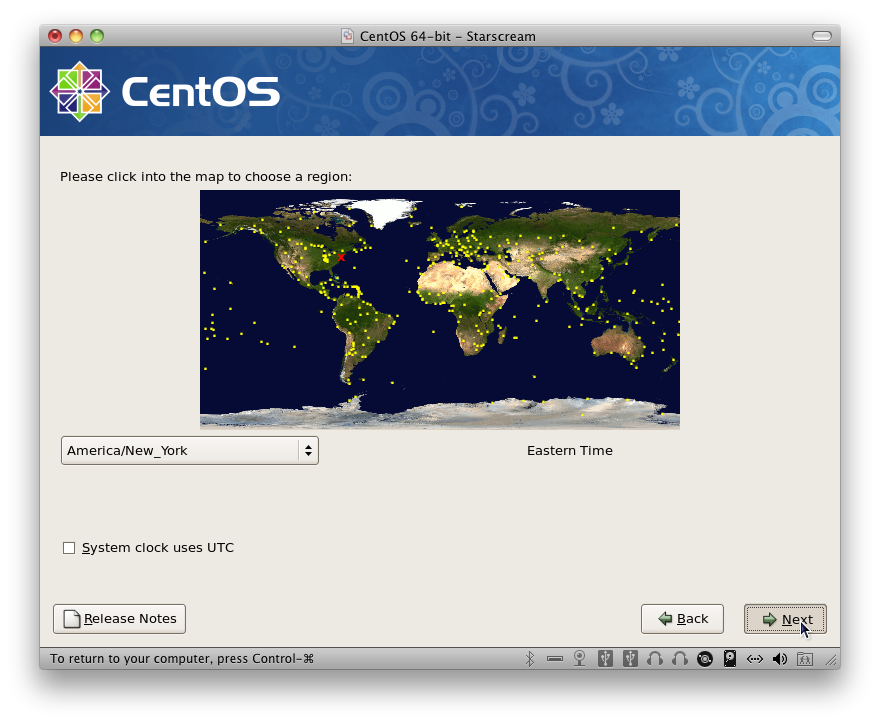
Next, the time and date are configured and the timezone is selected:
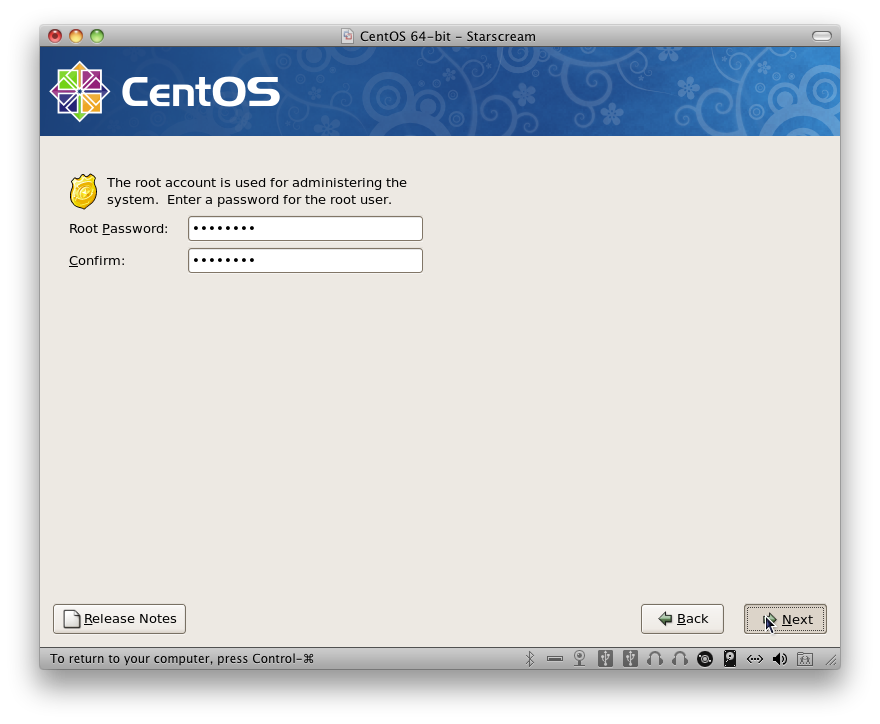
The installer then asks for the root/administrator password that is to be used.
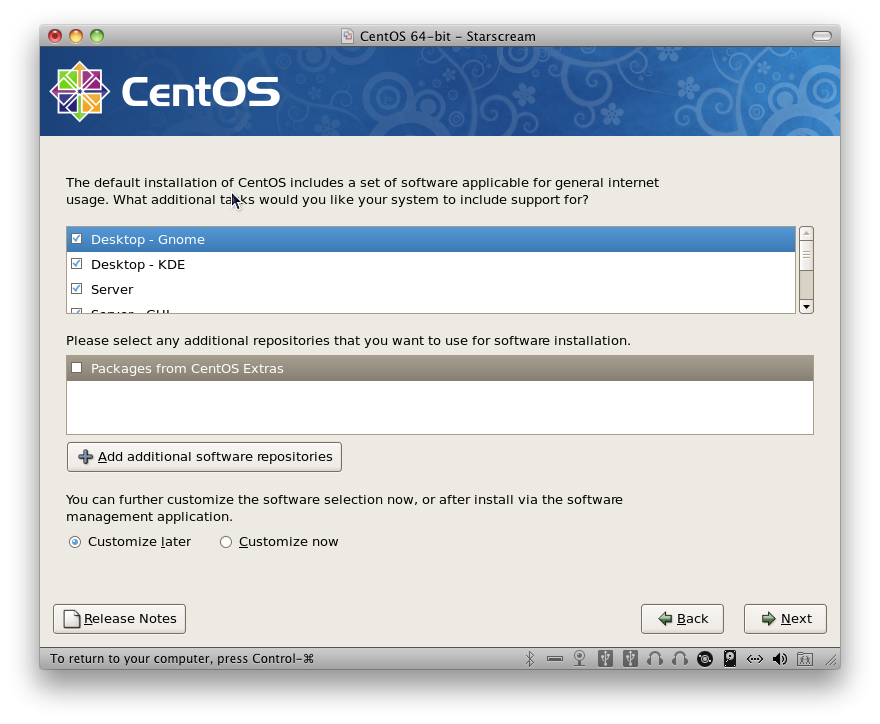
The packages are now selected. We select both Gnome and KDE desktop environments just to see how they compare. Normally, Gnome is selected as default.
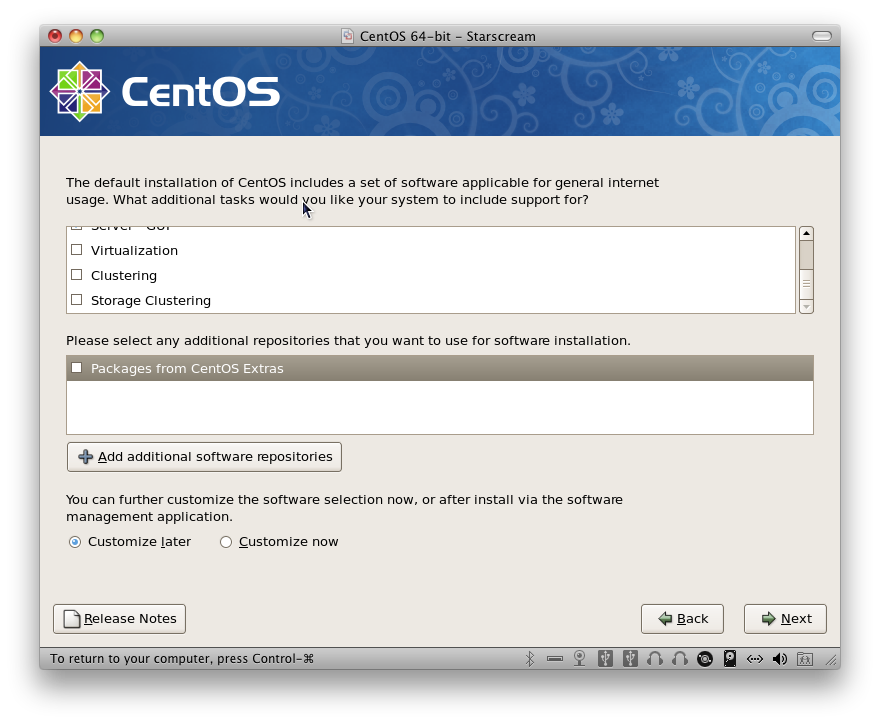
We do not need the other packages:
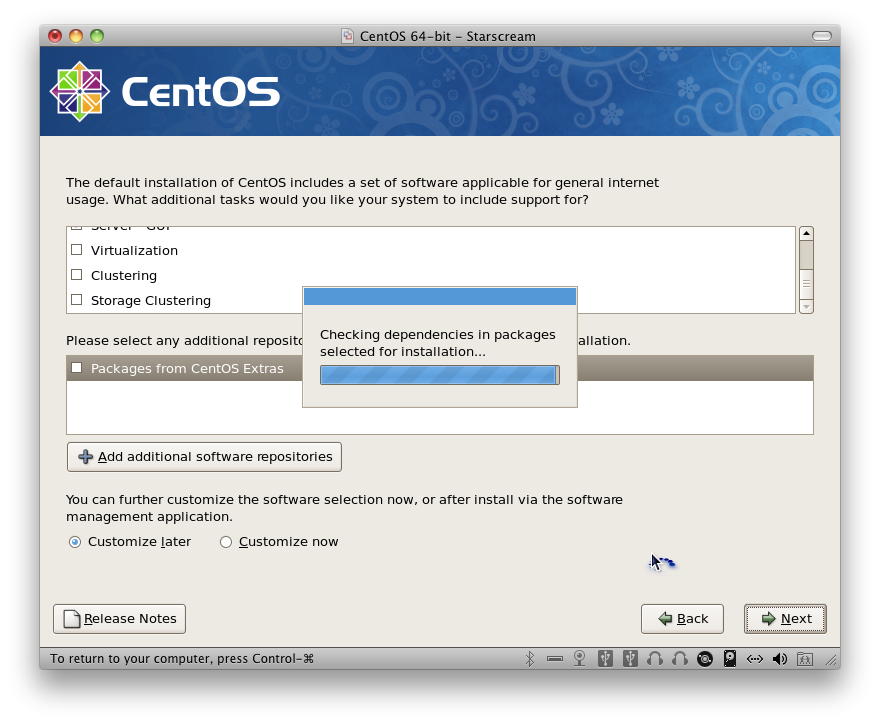
The installer then checks for dependencies for the selected packages (that are going to be installed).
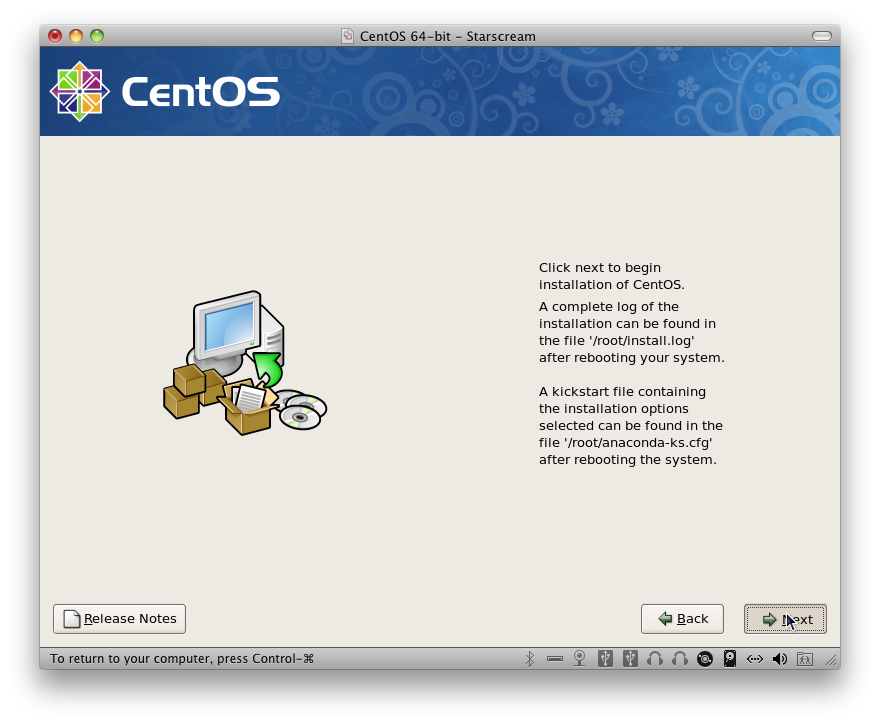
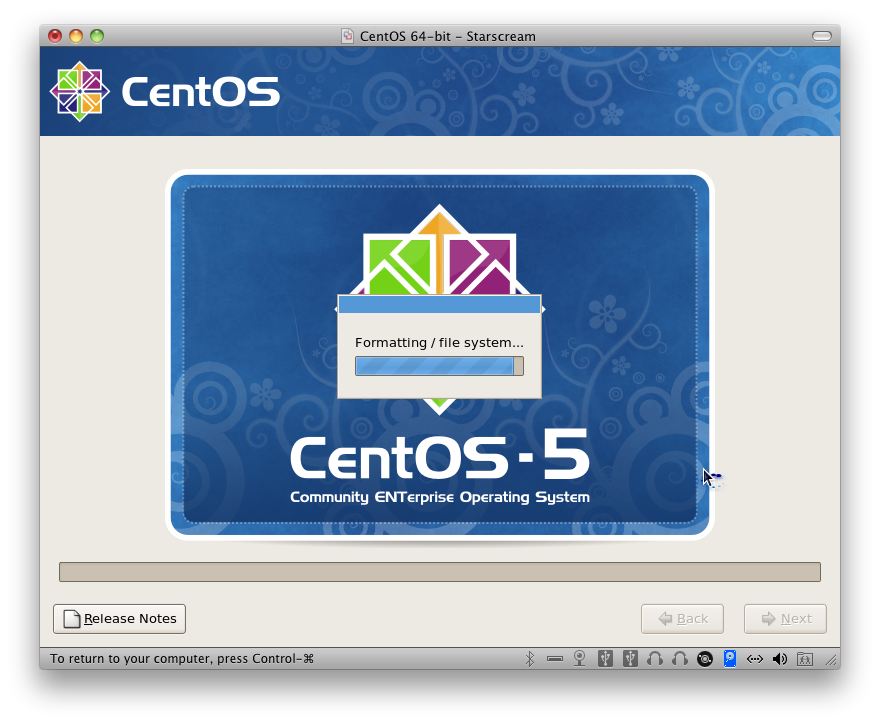
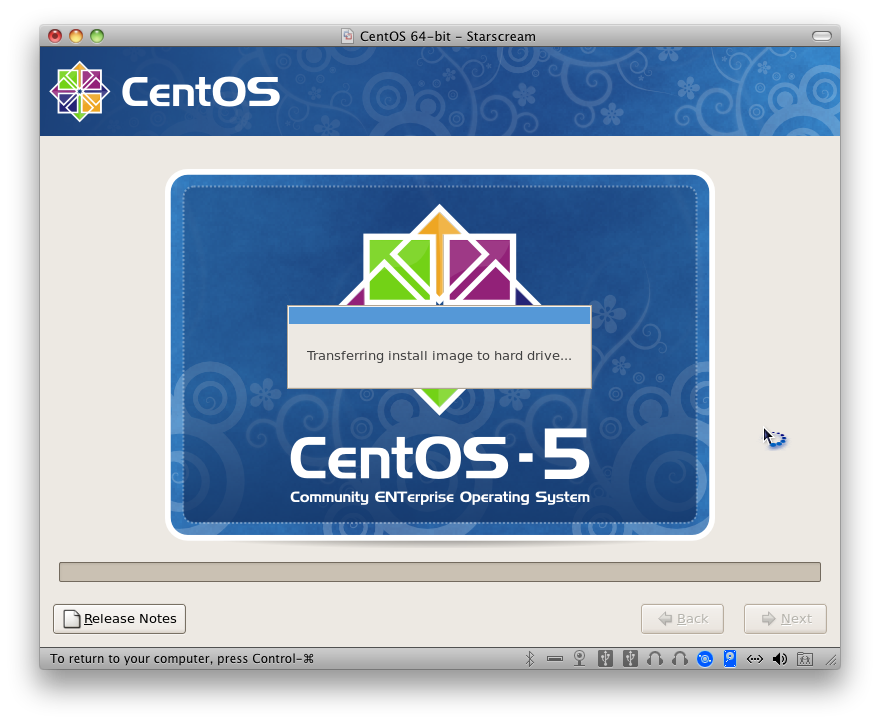
We are prompted to begin installation and so we proceed:
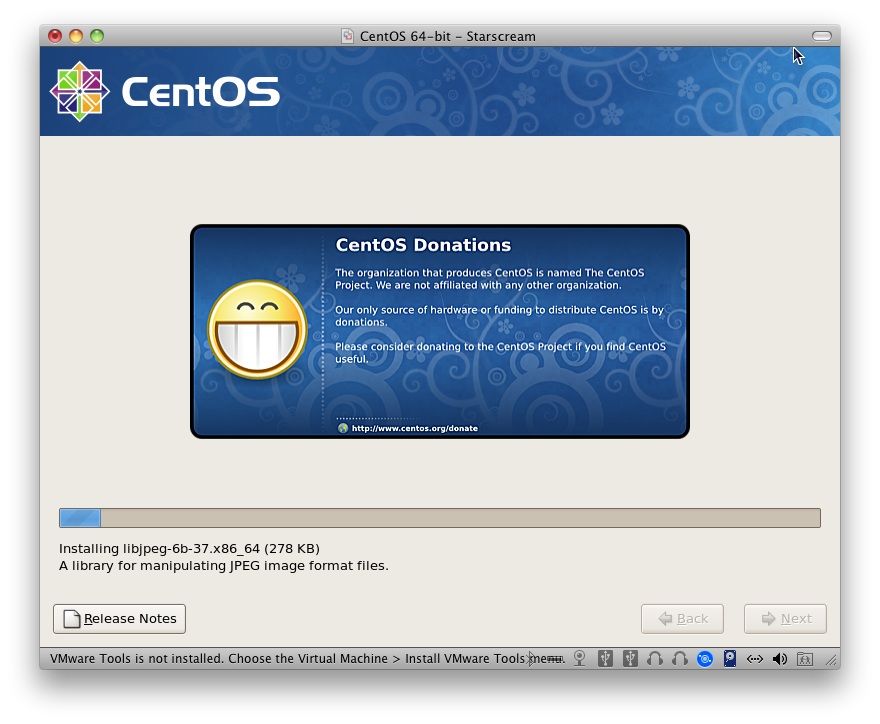
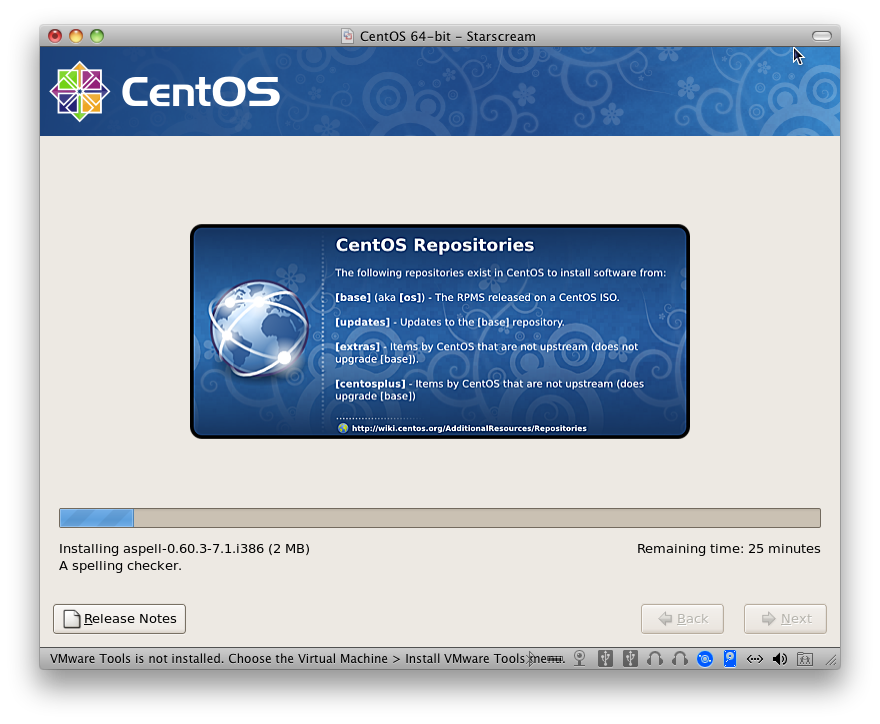
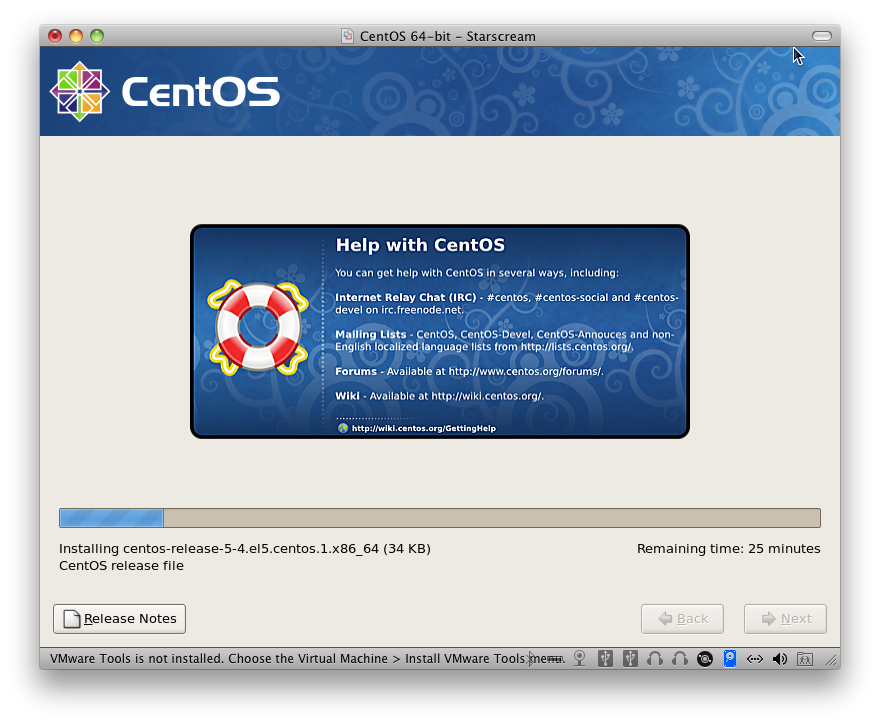
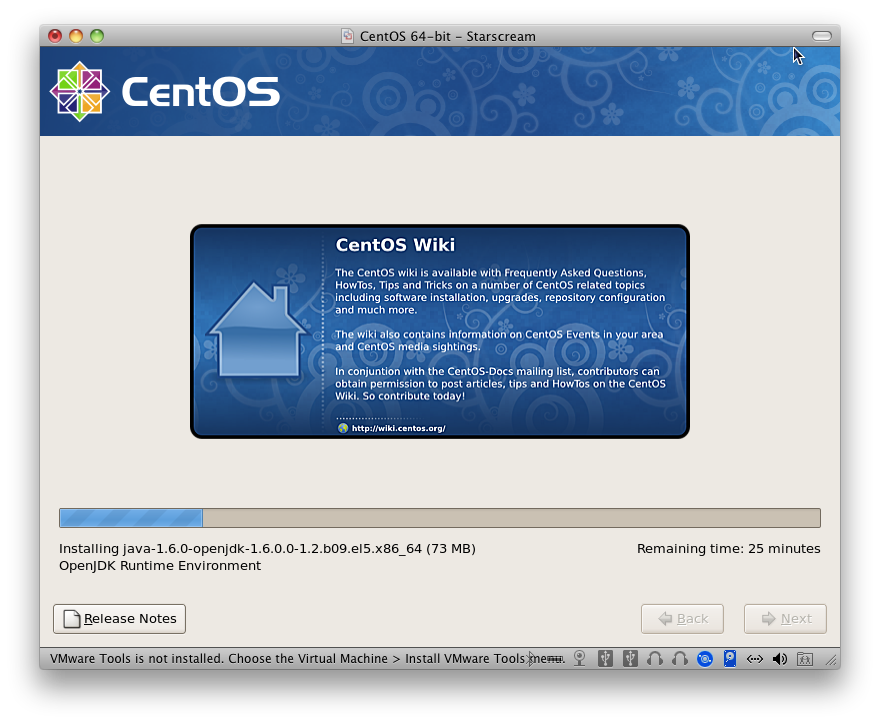
You can donate to the CentOS Project:
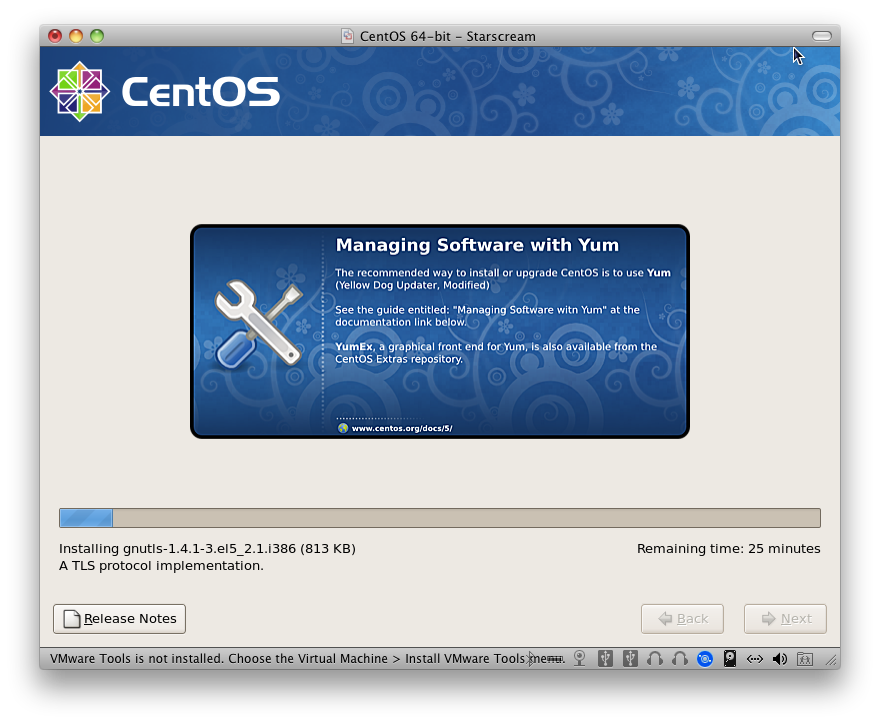
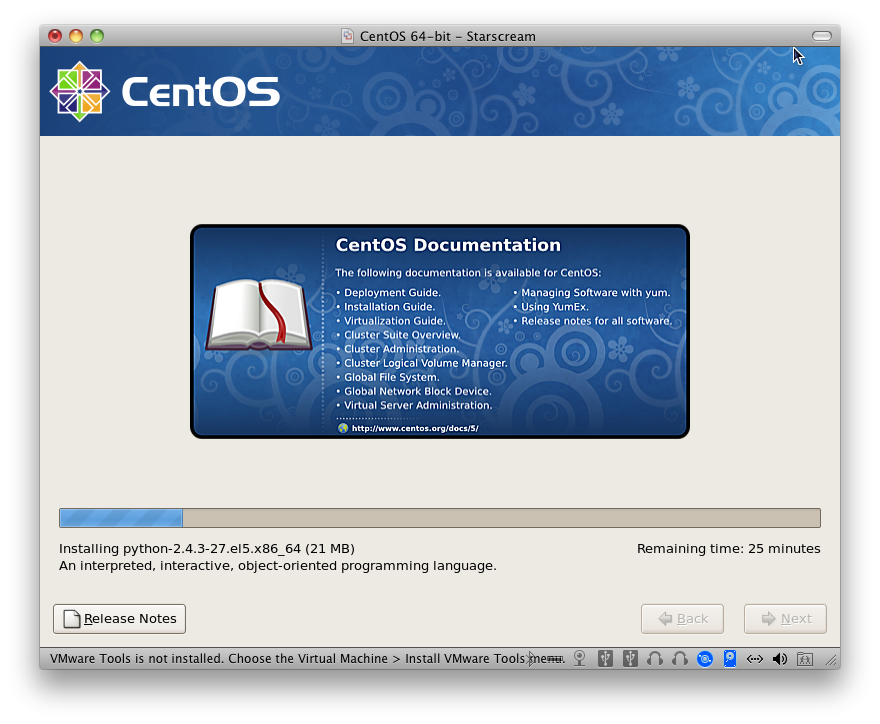
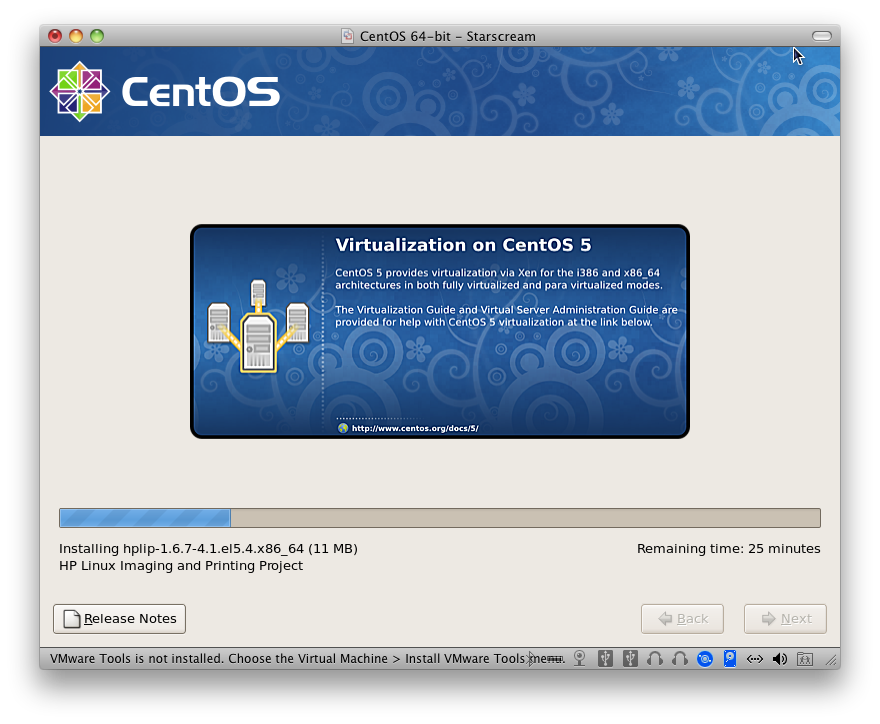
Yum is useful in managing the packages of the system:
The software repositories:
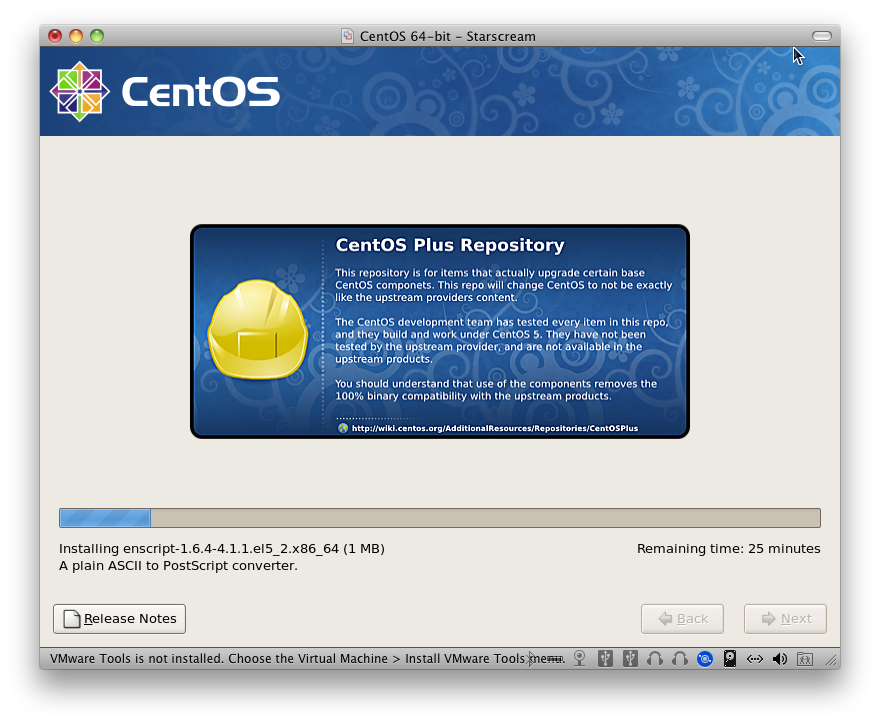
The CentOS Plus repository:
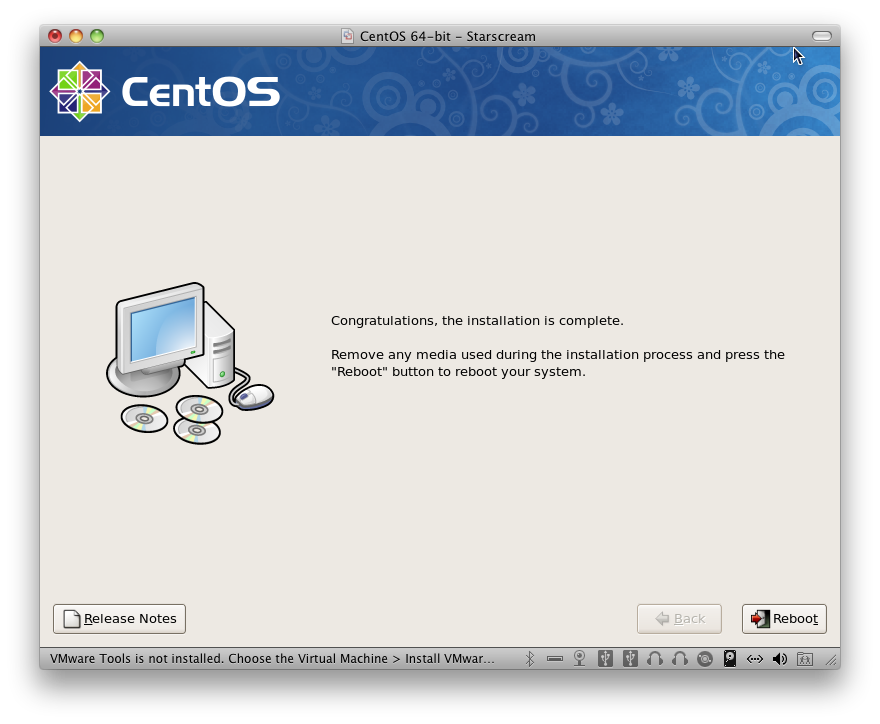
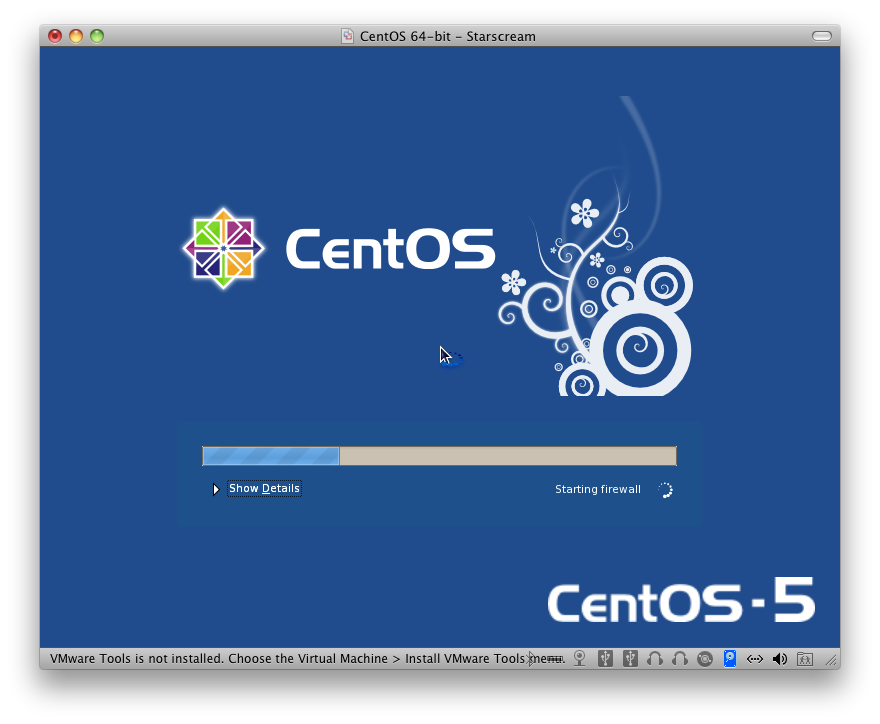
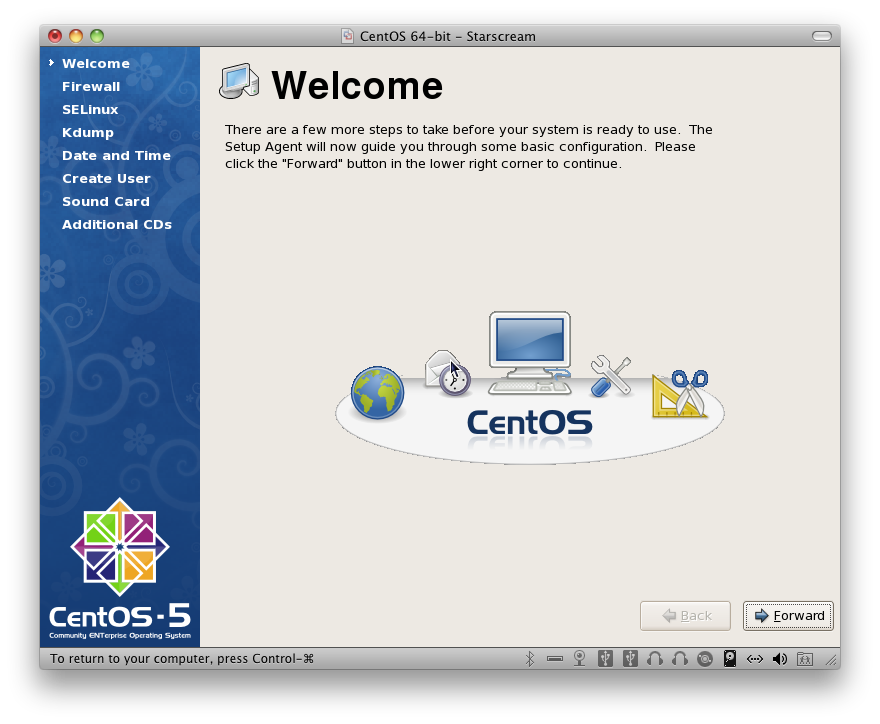
A little more configuration is needed after the reboot:
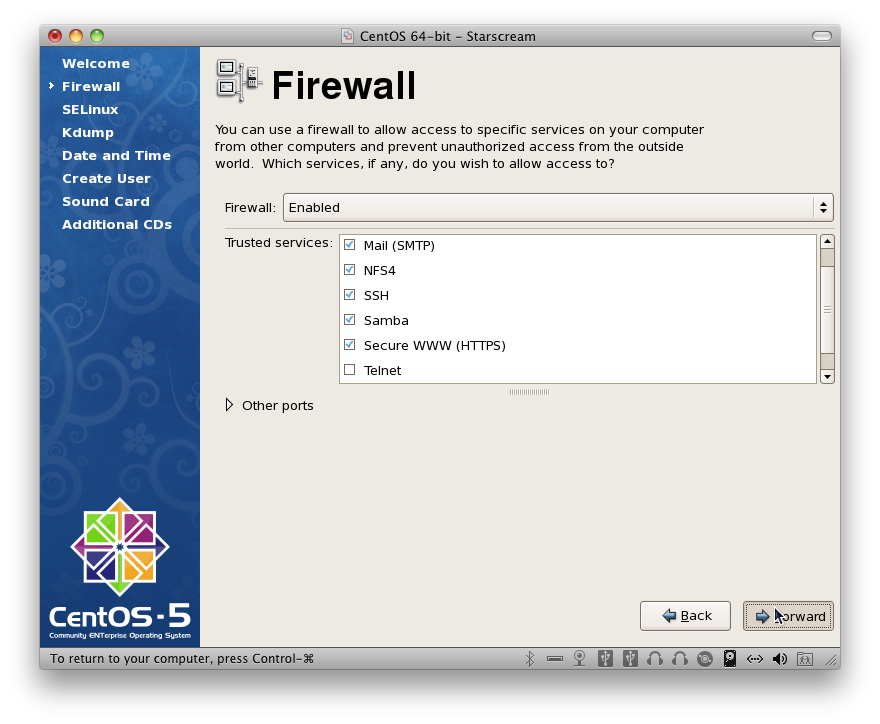
We open up a number of ports needed for the installation to service clients with.
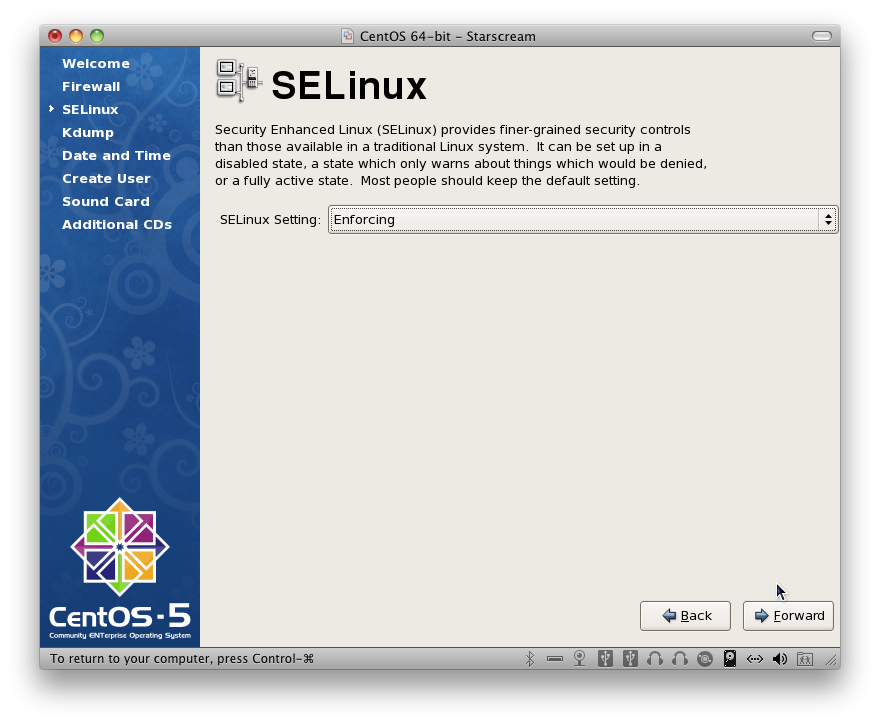
We set SELinux to “Enforcing”:
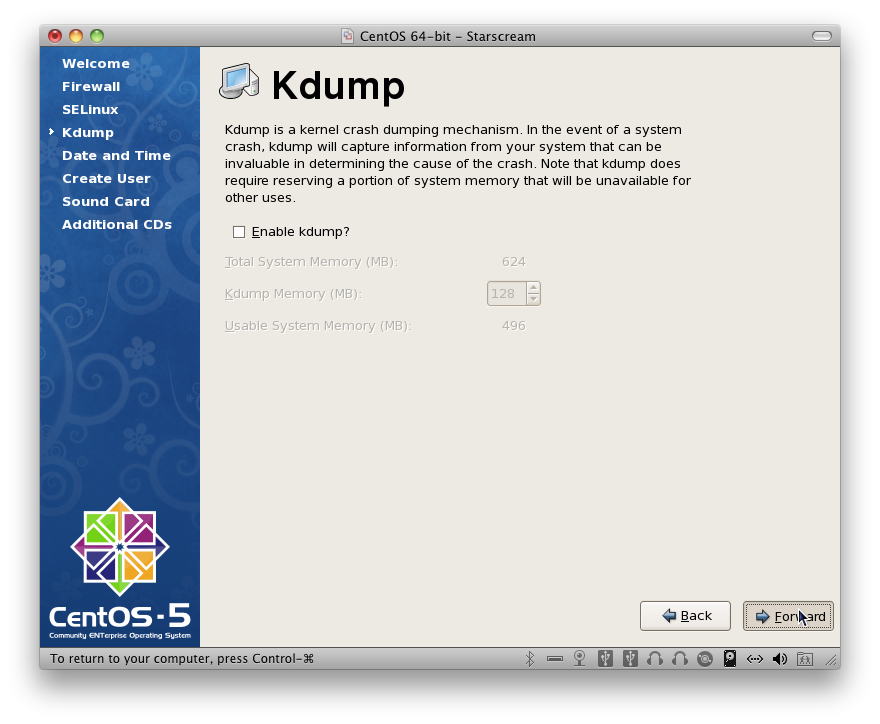
For our purpose, we do not enable Kdump:
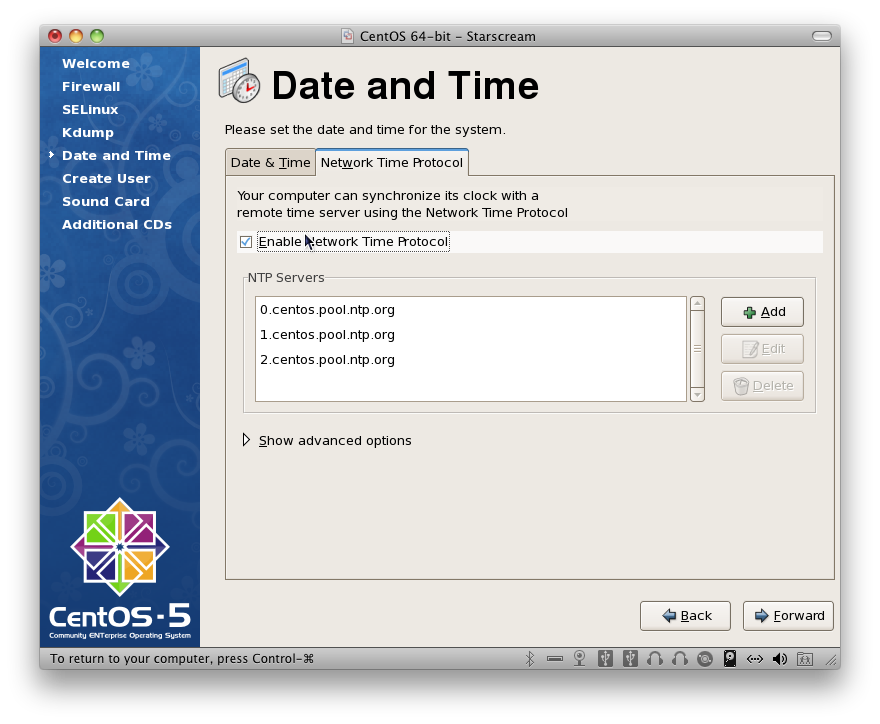
We check and set (if needed) the data, time, and timezone. We also activate the use of the Network Time Protocol (NTP):
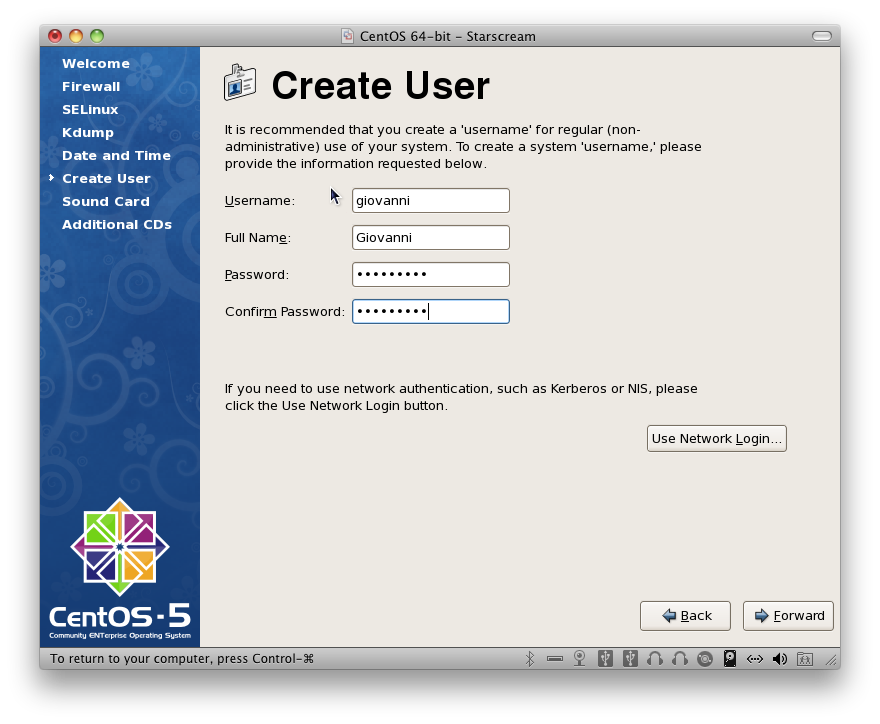
We now create a regular user. We’ll add more later.
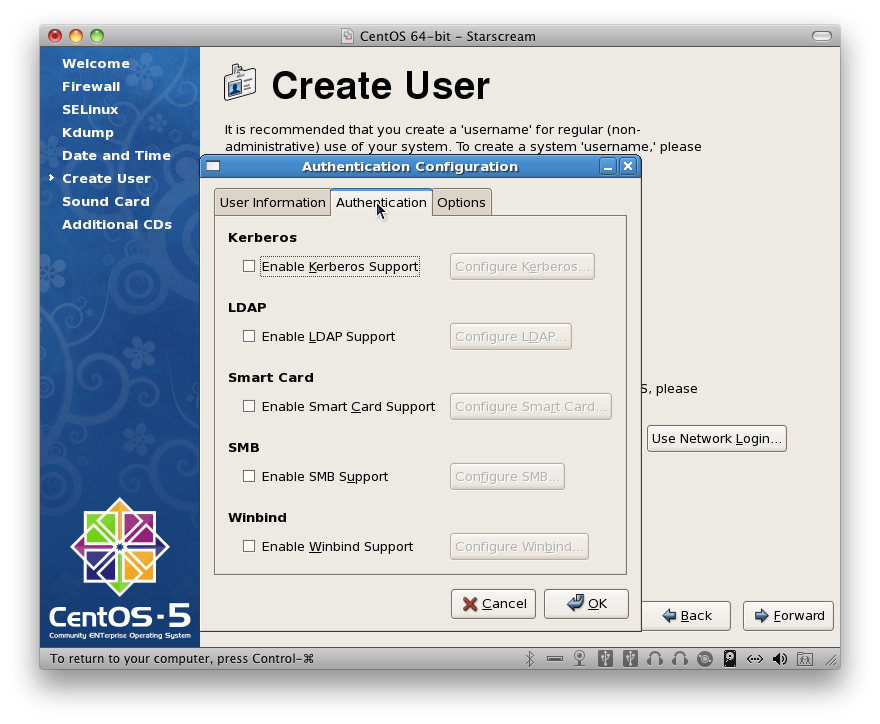
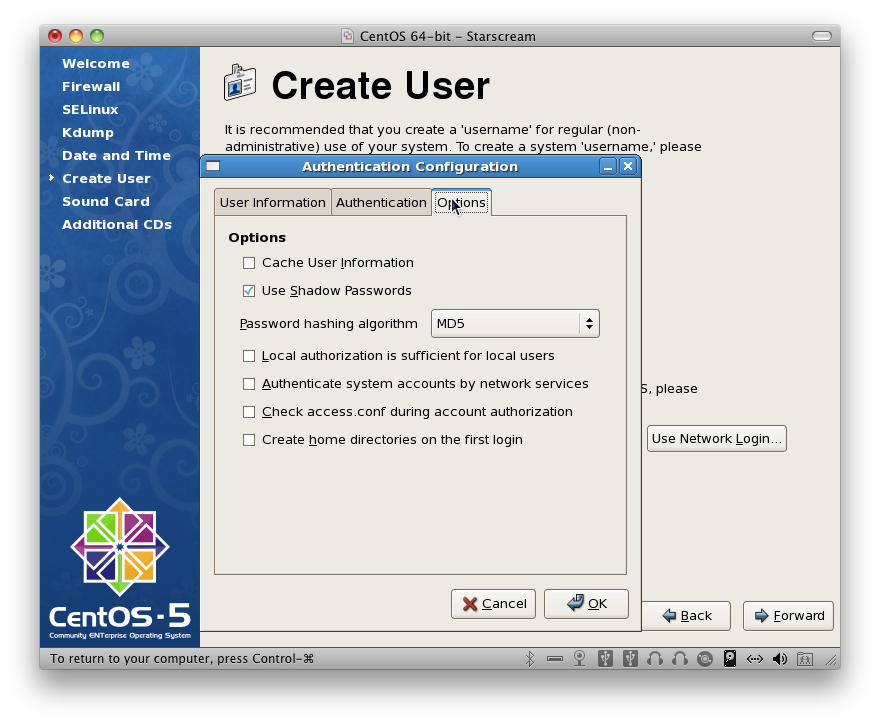
Clicking on “Use Network Login” gives us more options but we do not use them for now (i.e. leave them with their default values):
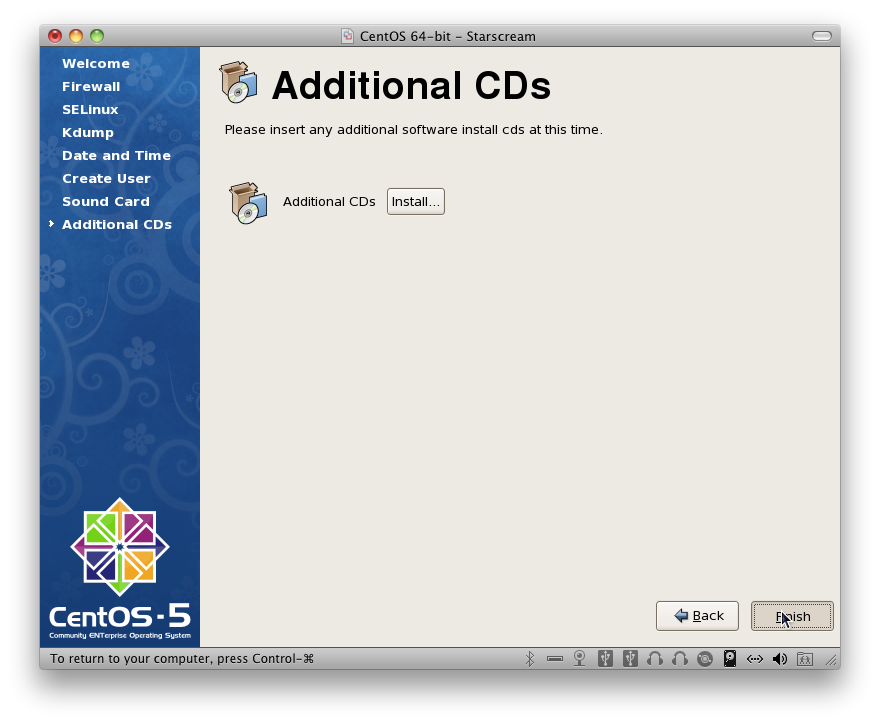
No additional CDs are used in our installation:
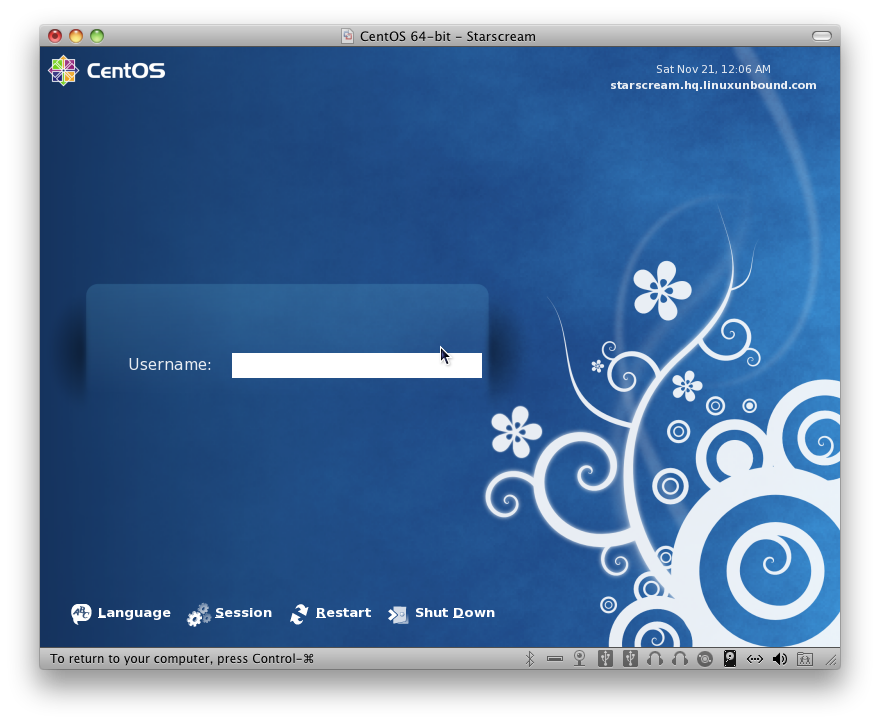
Finally, the login screen using gdm:
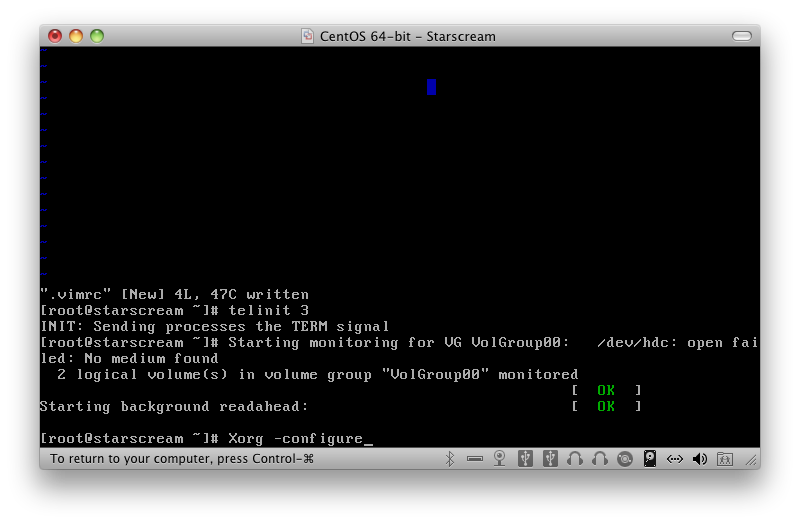
First, we escape the login screen by using the key combination: Ctrl-Alt-F1 (Ctrl-Option-Fn-F1 on the MacBook). We login as root, go to run level 3 (telinit 3), then run Xorg’s auto configuration function:
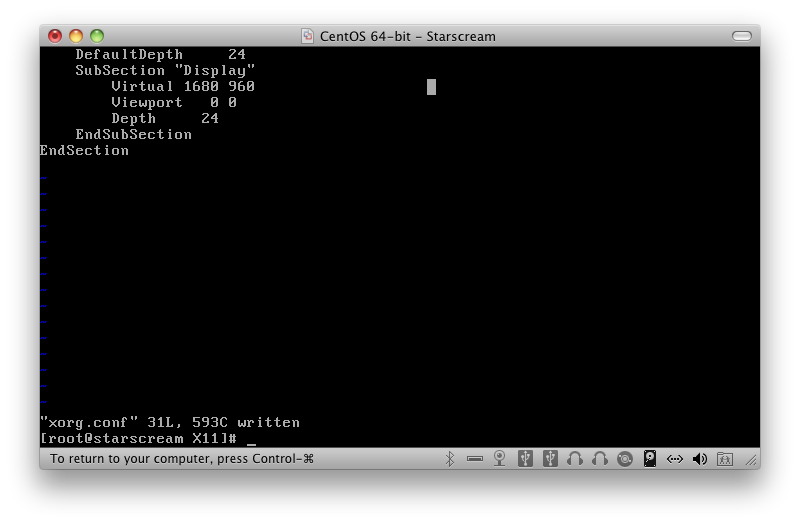
We then copy ~/xorg.conf.new to /etc/X11/xorg.conf and edit it, adding the Virtual configuration option as we did in OpenSUSE and Fedora:
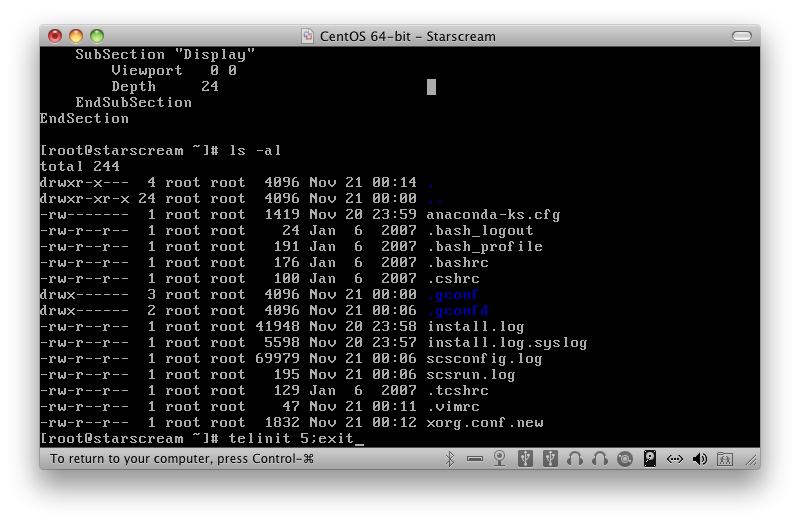
We then return to run level 5:
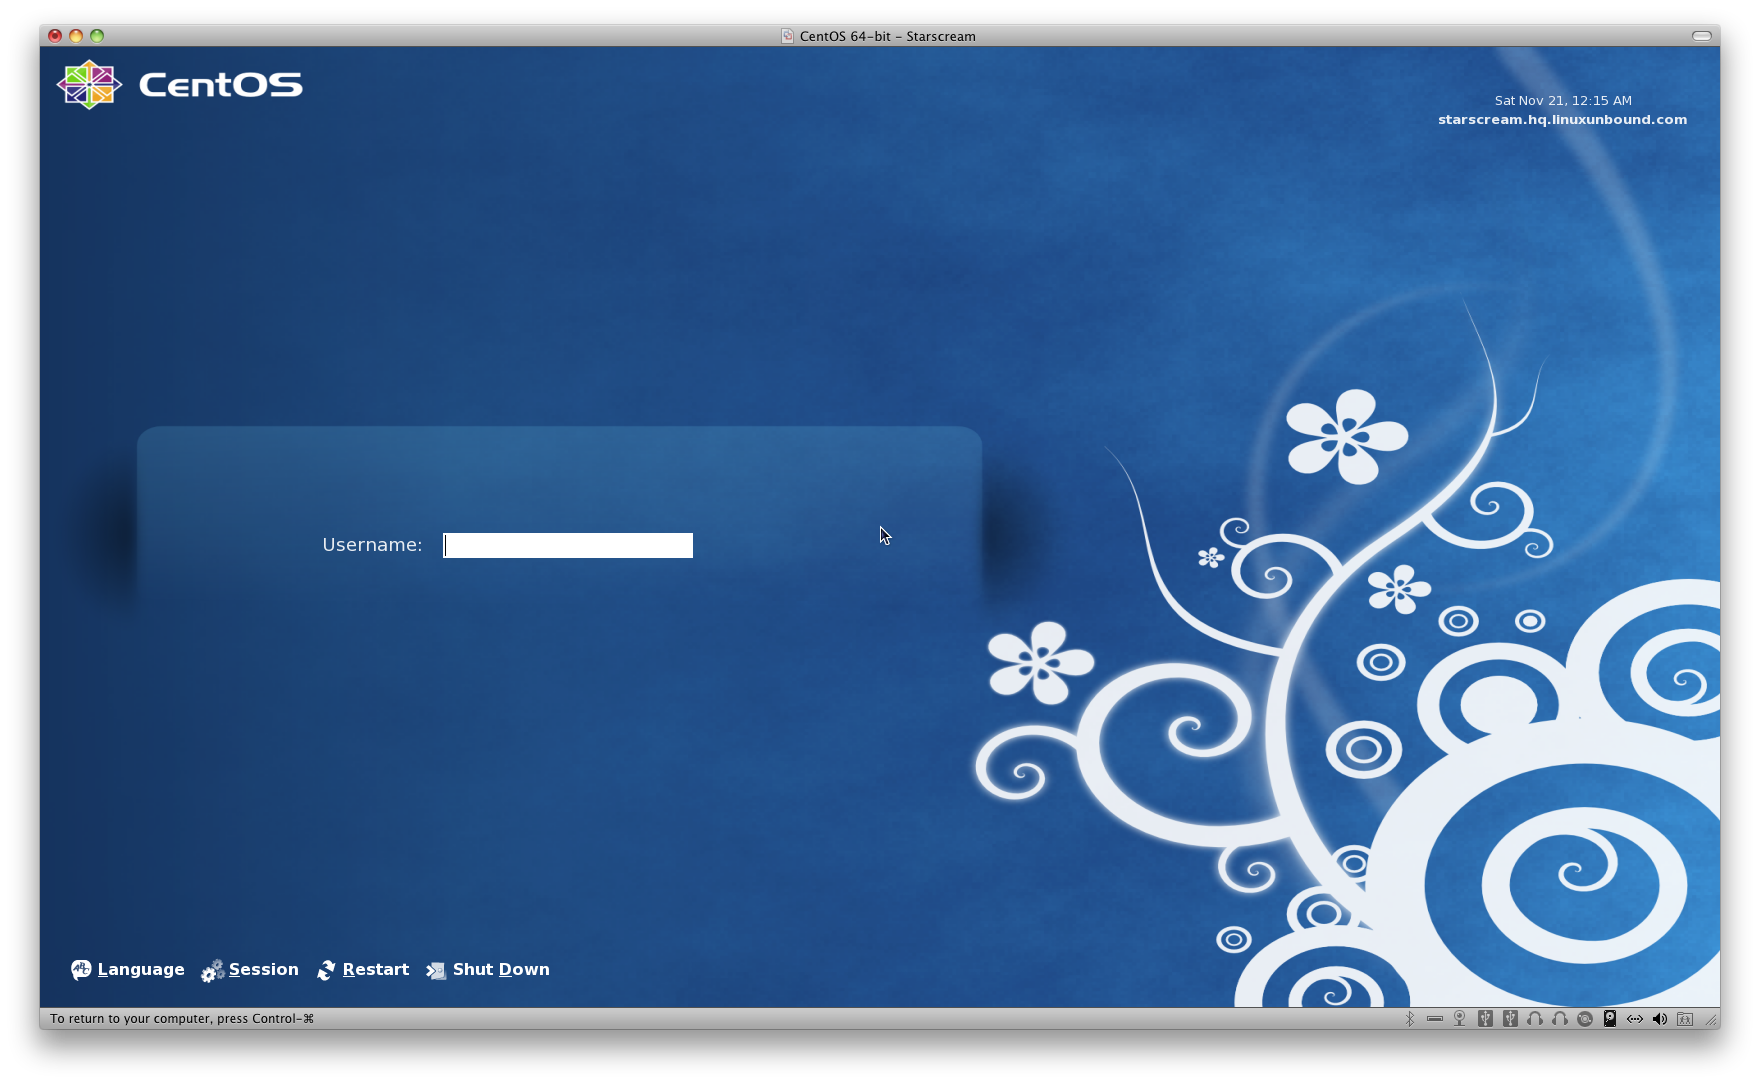
The resulting login screen is now bigger (1680×960 pixels):
Note that using sudo instead of logging in as root all the time is a better habit for security. But first, you must be root to configure sudo and the user/group account(s) to be granted certain privileges. Perhaps another article will discuss how to configure sudo.

